| This Is How We Do It | |||
|---|---|---|---|
 |
Time Cost | Target | Description |
| 2 | Self | +10 ACC (4 Battles) +8% CRIT (4 Battles) | |
| Bark | "Even towering beasts can be killed with a well-placed blow." | ||
| Tracking | |||
| Time Cost | Target | Description | |
| 2 | Self | -15% Chance Party Surprised (4 Battles) +10% Chance Monsters Surprised (4 Battles) | |
| Bark | "There is no trail I cannot follow." | ||
| Planned Takedown | |||
 |
Time Cost | Target | Description |
| 4 | Self | +25% DMG vs size 2* (4 Battles) +15 ACC vs size 2* (4 Battles) | |
| Bark | "The bigger they are, the harder they fall." | ||
| Scout Ahead | |||
 |
Time Cost | Target | Description |
| 3 | Self | +25% Scouting Chance (4 Battles) | |
| Bark | "I will survey our surroundings during the night." | ||
Bounty Hunter
Jump to navigation
Jump to search
| This article is about the hero in Darkest Dungeon. For his appearance in the sequel, see Bounty Hunter (Darkest Dungeon II). |
| Bounty Hunter | |||||
|---|---|---|---|---|---|

| |||||
| Stats [Compare] | |||||
| Armor | 1 | 2 | 3 | 4 | 5 |
| MAX HP | 25 | 30 | 35 | 40 | 45 |
| DODGE | 5 | 10 | 15 | 20 | 25 |
| Weapons | 1 | 2 | 3 | 4 | 5 |
| SPD | 5 | 5 | 6 | 6 | 7 |
| CRIT | 4% | 5% | 6% | 7% | 8% |
| DMG | 5-10 | 6-12 | 7-13 | 7-15 | 8-16 |
| Base Resistances | |||||
| 40% | 40% | ||||
| 30% | 30% | ||||
| 20% | 30% | ||||
| 67% | 40% | ||||
| Other information | |||||
| Movement | 2 forwards, 2 backwards. | ||||
| Crit Buff Bonus | +33% DMG vs Marked | ||||
| Religious | No | ||||
| Provisions | None | ||||
| “ | The thrill of the hunt... The promise of payment... | „ |
| ~ The Ancestor |
The Bounty Hunter is one of the playable Character Classes in Darkest Dungeon.
Class Description
| “ | Sinister and precise, the Bounty Hunter specializes in targeting a single foe to deliver its head for the reward. He has found that simply striking before thinking is an ineffective way to kill, so he has taught himself many ways to take advantage of his foe's vulnerabilities. If they wear armor, he can find the weak points in it. If they are reeling from a hit, he'll make a surprise attack to strike it down. Even the enemies who think they're safe behind their frontlines will find that the Bounty Hunter's grappling hook can pull them in or slice them up. And if all else fails, he can drop flash grenades or sucker punch enemies to disorient them. No matter the situation, this calculating killer will have an answer for it. |
„ |
Combat Skills
| “ | A brutally efficient single-target executioner and crowd control specialist. For the Bounty Hunter, planning is key - mark targets for bonus damage or look for opportunities to capitalize on a stunned foe. He can also wreak havoc on an enemy party's order using his grappling hook, flashbangs and powerful uppercut. | „ |
| ~ Guild |
Note: New Bounty Hunters will always come with the Collect Bounty skill.
(All buffs and debuffs last for 3 rounds unless otherwise specified.)
| Collect Bounty | |||||||||||||||||||||||||||||||||||||||||||||
|---|---|---|---|---|---|---|---|---|---|---|---|---|---|---|---|---|---|---|---|---|---|---|---|---|---|---|---|---|---|---|---|---|---|---|---|---|---|---|---|---|---|---|---|---|---|

|
Range | Rank | Target | Damage | Accuracy | Crit mod | Effect | Self | |||||||||||||||||||||||||||||||||||||
| Melee | +0% | 85 | 7% | +90% DMG vs Marked +15% DMG vs Human |
|||||||||||||||||||||||||||||||||||||||||
| |||||||||||||||||||||||||||||||||||||||||||||
| Mark for Death | |||||||||||||||||||||||||||||||||||||||||||||
|---|---|---|---|---|---|---|---|---|---|---|---|---|---|---|---|---|---|---|---|---|---|---|---|---|---|---|---|---|---|---|---|---|---|---|---|---|---|---|---|---|---|---|---|---|---|

|
Range | Rank | Target | Damage | Accuracy | Crit mod | Effect | Self | |||||||||||||||||||||||||||||||||||||
| Ranged | -100% | 100 | Mark Target (3 rds) -10% PROT (100% base, 3 rds) |
+3 SPD (2 rds) | |||||||||||||||||||||||||||||||||||||||||
| |||||||||||||||||||||||||||||||||||||||||||||
| Come Hither | |||||||||||||||||||||||||||||||||||||||||||||
|---|---|---|---|---|---|---|---|---|---|---|---|---|---|---|---|---|---|---|---|---|---|---|---|---|---|---|---|---|---|---|---|---|---|---|---|---|---|---|---|---|---|---|---|---|---|

|
Range | Rank | Target | Damage | Accuracy | Crit mod | Effect | Self | |||||||||||||||||||||||||||||||||||||
| Ranged | -80% | 90 | 0% | Mark Target (2 rds) Pull 2 (100% base) |
|||||||||||||||||||||||||||||||||||||||||
| |||||||||||||||||||||||||||||||||||||||||||||
| Uppercut | |||||||||||||||||||||||||||||||||||||||||||||
|---|---|---|---|---|---|---|---|---|---|---|---|---|---|---|---|---|---|---|---|---|---|---|---|---|---|---|---|---|---|---|---|---|---|---|---|---|---|---|---|---|---|---|---|---|---|

|
Range | Rank | Target | Damage | Accuracy | Crit mod | Effect | Self | |||||||||||||||||||||||||||||||||||||
| Melee | -67% | 90 | 0% | Knockback 2 (100% base) Stun (100% base) |
|||||||||||||||||||||||||||||||||||||||||
| |||||||||||||||||||||||||||||||||||||||||||||
| Flashbang | |||||||||||||||||||||||||||||||||||||||||||||
|---|---|---|---|---|---|---|---|---|---|---|---|---|---|---|---|---|---|---|---|---|---|---|---|---|---|---|---|---|---|---|---|---|---|---|---|---|---|---|---|---|---|---|---|---|---|

|
Range | Rank | Target | Damage | Accuracy | Crit mod | Effect | Self | |||||||||||||||||||||||||||||||||||||
| Ranged | -100% | 95 | Stun (110% base) Shuffle Single (100% base) |
||||||||||||||||||||||||||||||||||||||||||
| |||||||||||||||||||||||||||||||||||||||||||||
| Finish Him | |||||||||||||||||||||||||||||||||||||||||||||
|---|---|---|---|---|---|---|---|---|---|---|---|---|---|---|---|---|---|---|---|---|---|---|---|---|---|---|---|---|---|---|---|---|---|---|---|---|---|---|---|---|---|---|---|---|---|

|
Range | Rank | Target | Damage | Accuracy | Crit mod | Effect | Self | |||||||||||||||||||||||||||||||||||||
| Melee | +0% | 85 | 5% | +25% DMG vs Stunned | |||||||||||||||||||||||||||||||||||||||||
| |||||||||||||||||||||||||||||||||||||||||||||
| Caltrops | |||||||||||||||||||||||||||||||||||||||||||||
|---|---|---|---|---|---|---|---|---|---|---|---|---|---|---|---|---|---|---|---|---|---|---|---|---|---|---|---|---|---|---|---|---|---|---|---|---|---|---|---|---|---|---|---|---|---|

|
Range | Rank | Target | Damage | Accuracy | Crit mod | Effect | Self | |||||||||||||||||||||||||||||||||||||
| Ranged | -95% | 90 | 5% | Bleed (100% base) 2 pts/rd for 3 rds +10% DMG Taken (100% base) -4 SPD (100% base) (3 rds) |
|||||||||||||||||||||||||||||||||||||||||
| |||||||||||||||||||||||||||||||||||||||||||||
Camping Skills
| “ | At camp, like in combat, the Bounty Hunter is all about preparedness. He can take time to study his notes, bettering his odds against typical foes or even specifically 'big game'. Scouting ahead can increase a party's knowledge of lurking threats, while tracking increases the party's chance of maintaining the element of surprise. | „ |
| ~ Survivalist |
Camping skills are special skills heroes can use while they are camping. They take a certain number of "respite" points to use, and can only be used once per camp (unless the skill says otherwise). Most heroes have three shared camping skills and all heroes have 4 unique camping skills (with the Flagellant being the exception, having only unique camping skills). Only 4 of these can be equipped at one time. Any Buffs or lasting effects given from a camping skill lasts for 4 battles.
During camp, the Bounty Hunter is able to buff his accuracy and crit chance or increase his damage against large enemies. He can also increase scouting chance and reduce the chance of the party being surprised.
| Encourage | |||
|---|---|---|---|
 |
Time Cost | Target | Description |
| 2 | One Companion | -15 Stress | |
| Bark | "You fight well enough. So quit your moaning." "Keep your head down. That's how you survive." "Hold your weapon lower. Loosen your grip. ... There." | ||
| Wound Care | |||
 |
Time Cost | Target | Description |
| 2 | One Companion | Heal 15% HP Removes Bleeding Removes Blight | |
| Bark | "Here. Put on this bandage." "Barely a scratch. Get up." "You rolled the dice, friend, but you'll live." | ||
| Pep Talk | |||
 |
Time Cost | Target | Description |
| 2 | One Companion | -15% Stress (4 Battles) | |
| Bark | "We seem... capable enough." "We'll survive. This I know." "The odds seem to be in our favour." | ||
* This bonus also applies for enemies larger than size 2.
Equipment
| “ | The Bounty Hunter favors a hand-axe and grappling hook, a pairing that allows him to ensnare and execute his quarry with professional efficiency. His tough leather and scale armor grants decent protection, without sacrificing mobility. | „ |
| ~ Blacksmith |
Unlike other games, equipment upgrades in Darkest Dungeon are linear, all bought at the Blacksmith.
| Axe | ||||||||||||||
|---|---|---|---|---|---|---|---|---|---|---|---|---|---|---|
| Level 1 | Level 2 | Level 3 | Level 4 | Level 5 | ||||||||||
.png)
|
Abandoned Axe | .png)
|
Refurbished Axe | .png)
|
Fine Axe | .png)
|
Professional's Axe | .png)
|
The Widowmaker | |||||
| DMG base: | 5-10 | DMG base: | 6-12 | DMG base: | 7-13 | DMG base: | 7-15 | DMG base: | 8-16 | |||||
| CRT base: | 4.0% | CRT base: | 5.0% | CRT base: | 6.0% | CRT base: | 7.0% | CRT base: | 8.0% | |||||
| SPD base: | 5 | SPD base: | 5 | SPD base: | 6 | SPD base: | 6 | SPD base: | 7 | |||||
| Rigid Leather | ||||||||||||||
| Level 1 | Level 2 | Level 3 | Level 4 | Level 5 | ||||||||||

|
Rigid Leathers | 
|
Buckled Leathers | 
|
Reinforced Leathers | 
|
Scale and Leathers | 
|
Death's Head | |||||
| DODGE base: | 5 | DODGE base: | 10 | DODGE base: | 15 | DODGE base: | 20 | DODGE base: | 25 | |||||
| HP base: | 25 | HP base: | 30 | HP base: | 35 | HP base: | 40 | HP base: | 45 | |||||
Each Hero has Trinkets unique to them that only they can equip. The Bounty Hunter has seven; 2 common, 2 Crimson Court and 1 uncommon, rare and very rare. In the base game, his trinkets are either beast talons or helmets. The Crimson Court DLC adds a bag full of teeth and a list of people he is/was seeking revenge on, while the Color of Madness DLC adds a cursed mask.
| Trinket Image | Trinket Name | Rarity | Class Restriction | Origin Dungeon | Effect | Additional Notes |
|---|---|---|---|---|---|---|
 |
Agility Talon | Common | Bounty Hunter |
|
| |
 |
Unmovable Helmet | Common | Bounty Hunter |
|
| |
 |
Camper's Helmet | Uncommon | Bounty Hunter |
|
| |
 |
Hunter's Talons | Rare | Bounty Hunter | Warrens |
|
Increases maximum food eaten at camp by 1, as compared to 2 with +100% Food Consumed.
|
 |
Wounding Helmet | Very Rare | Bounty Hunter |
|
|
The Crimson Court DLC added special Trinket Sets, two for each hero. They confer powerful bonuses to the hero equipped with them, and having both equipped at once yields an additional bonus, which is shown greyed out at the bottom. The origin dungeon for all Trinket Sets is the Courtyard and they all have the rarity Crimson Court. The Shieldbreaker Trinket Set![]() , however, is only obtainable through her final 6th and 7th nightmare encounters and won't be dropped or given as a reward in the Courtyard. Trinkets you already have will stop dropping, so there's value in not selling the ones you don't like until you get the ones you want.
, however, is only obtainable through her final 6th and 7th nightmare encounters and won't be dropped or given as a reward in the Courtyard. Trinkets you already have will stop dropping, so there's value in not selling the ones you don't like until you get the ones you want.
| Trinket Image | Trinket Name | Class Restriction | Effect | Set Effect | Quote | Additional Notes |
|---|---|---|---|---|---|---|

|
Crime Lords' Molars |
Bounty Hunter |
|
|
"They. Will. Pay." | |

|
Vengeful Kill List |
|
The Color of Madness DLC added trinkets with a new rarity, Crystalline. Each hero has their own unique crystalline trinket which can be bought from Jeweler inside the Nomad Wagon with Crystal Shards found within the Farmstead.
| Trinket Image | Trinket Name | Rarity | Class Restriction | Shard Cost | Effect | Additional Notes |
|---|---|---|---|---|---|---|
 |
Mask Of The Timeless |
Crystalline | Bounty Hunter | 75 Shards |
|
|
District Bonus
The Crimson Court DLC adds Districts to the Hamlet, some of which confer passive benefits to heroes.
The gold cost of most Districts in Radiant mode is significantly reduced. The price in Radiant mode is shown in parentheses.
| Districts | |||
|---|---|---|---|
| Name | Image | Effect | Cost |
| House of the Yellow Hand |  |
Bounty Hunter, Grave Robber, and Highwayman receive:
|
|
Trivia
- Three of his skills (Finish Him, Come Hither & Uppercut) are references to the Mortal Kombat series.
- His blue and green color palettes resemble the armor of Jango and Boba Fett - bounty hunters from "Star Wars" movies.
- The predetermined name of the Bounty Hunter is Tardif, a reference to Red Hook programmer Pierre Tardif.
- From the Bounty Hunter's Crimson Court item set (most notably the Vengeful Kill List) it can be inferred that the Bounty Hunter may also fight for revenge, not just money.
- There's a total of 21 "..." barks for the Bounty Hunter, and 14 others are also completely wordless.
- His current Caltrops skill was formerly known as Hook and Slice, which, while functionally identical as a ranged skill that inflicts bleed, had a different range and position restriction. The PS Vita version of the game still retains Hook and Slice.
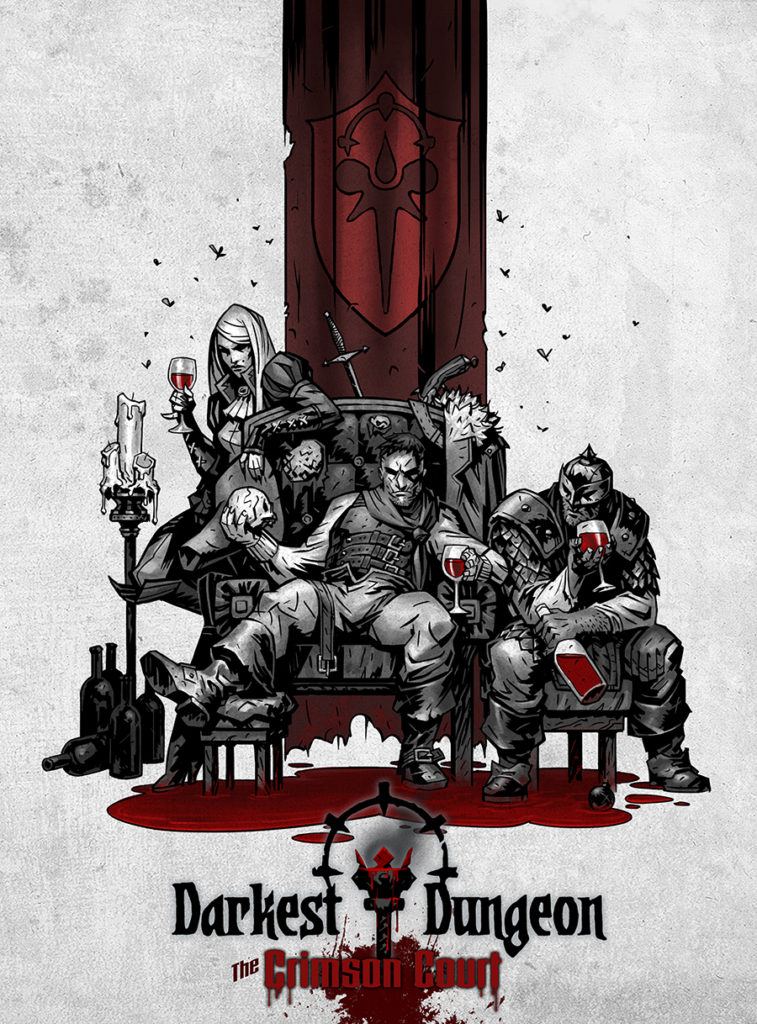
- The Bounty Hunter's full face is never truly revealed, but the lower half of his face can be seen in the promotional art for the Crimson Court DLC of Darkest Dungeon.
Categories:
- Pages using Tabber parser tag
- Heroes